the lives of a hard working husband & a wife in grad school

the lives of a hard working husband & a wife in grad school
the moments that make us laugh & cry
the food that gets rave (& not so rave) reviews

14 July 2011

Operation HtH: Progress Prior to Moving In

I finally unpacked enough to at least find our cameras. So, I'm finally able to upload some photos I took before we moved in after painting more and after my parents' visit. Without further ado, here they are:

My mom worked painstakingly to rid the kitchen of wallpaper - two layers!

More wallpaper removal

Our sweet new fridge - with sexy ramp up lighting!

What a blessing - it's a Frigidaire Professional - we got the last floor model that was on clearance for about 60% of the price that this year's model will list for. 

We all (Mom mostly) worked to clear the brick patio of weeds and dirt that had accumulated. It's a totally different space now!

We moved the picnic table over to the patio area instead of having it out in the grass in the back of the yard.

Carlyle's Birthday surprise - a gas grill! We love it!

We cleared out the brush and scrappy shrubs and weeds growing in this front corner of the yard. 

We cleared out some bamboo. Our neighbors next door have done more on their side now too.

The patio cleared off

We cleaned up the back right corner of the yard - between 1/4 and 1/3 of the span of the back fence. 

...and started a compost pile for yard trash.

My parents brought us two tomato plants, and Daddy was so sweet to plant them for us. I've since dug in to that ground myself to transplant a shrub, so I know how hard that ground can be! I appreciate it!

The treadmill our awesome apartment manager gave us! :) That wallpaper is gone baby gone now. 

We got the entire upstairs carpeted (not the stairs - we're going to rip off the carpet on the stairs and repaint them at some point when we can stand to live on the lower floor for a little while - like after we get a guest bed). 

We LOVE the carpet. We got a super great deal on it too. Go see Ali at Carpet Plus in Bowie on Rt. 3! We got 20-year warranty SHAW anso-nylon carpet with high quality backing and the best padding installed all right under $3/sq.ft. We knew we wanted to replace the carpet upstairs ASAP, and we just happened to stop by that place just for fun on Memorial Day weekend and they had a sale going on. They were an absolute pleasure to do business with. And, Rosie & Daisy love their free carpet sample squares that we have scattered on the wood floors downstairs. 

I love it! This is the upstairs left bedroom - Carlyle is using it as his office.

The color of the carpet is called "Dunes." The trim I painted a crisp semi-gloss white before they installed the carpet. The wall paint is Behr Chocolate Froth. 

The color on the door is the original room color. Not sure if I'm going to change it to white or keep it. It's kind of a neat extra detail. 

Looking in to the master bedroom.

I LOVE LOVE LOVE the color I picked out for the bedroom. Ask my parents - I spent probably 20 minutes staring at colors in Home Depot trying to find the ideal shade of blue. I didn't want baby blue, but I wanted a light gray blue that wasn't purply. I found it - it's Behr Sparkling Spring. It looks very beachy and relaxing with the crisp white trim and it coordinates with the carpet perfectly. 

I can't wait to hang some black and white photos here between the windows in black frames. I have since bought curtains from IKEA - hoping to hang those this weekend. 

The blue looks very different depending on how the light hits it, but I love every bit of it. This is the little nook in the bedroom that we'll make a sitting area. We're planning to get a chaise and a little chair and table and lamp for this space.

I think I was trying to get the contrast with the white here.


We solved a mystery while my parents were here. We were attempting to patch a bad section of drywall in the master bedroom and uncovered a the inside of a weird built in shelf / box that we could see from inside the closet. It had an electrical outlet in it, too - so we think maybe it was a shelf someone made for a TV. I decided I wanted to keep it, but instead open it to the bathroom and make a little shelf / cubby for my hair dryer, straightener, curling iron. This is the view of it from inside the bathroom. Since the bathroom is in the slanted part of the ceiling, the only place to put a mirror is on this wall, so it'll be helpful to have everything close together. We took down the medicine cabinet that was here, and my plan is to make a hinged door to cover this with a picture frame. I bought the frame this weekend. I'll do frames for the mirror and other things as well, maybe framed cork to hang my jewelry on.

Daddy the electrician also moved the outlet to the bathroom, installed a GFCI. He did such a great job! Now I have  an outlet next to my electrical tool cubby. 

ahhhhh new carpet... now we need to do the downstairs to get rid of the stale this-house-has-been-empty-for-a-year smell
I'll take photos this weekend of what everything looks like now that we've moved in.

30 May 2011

Operation HtH: A Better Yellow

We finished priming the living room walls and yesterday I painted them in a new, better, oohh soo buttery yellow. It's Behr Frosted Lemon (330A-2). We taped off where chair rail will go so we won't have to repaint the bottom when we add wainscoting details this summer (hopefully?). I also took the liberty of being sloppy at the ceiling because the ceiling needs to be painted and we plan on installing crown moulding in this room as well.

We want this to be a lovely formal living room space to set the tone for the rest of the house - it is the first impression you get when you first walk into the house! I'll post more later about our plans for this room & the rest of the house, but for right now I'll say that we're going for a light and airy Cape Cod feel for the house (because it is a Cape Cod) and functionality with great traditional touches that bring out the details and craftsmanship of the Cape Cod style.

We'd like to complete this room first before we tackle other rooms, especially since it's the first room you see when you walk into the house... and it's the sight that we'll be greeted with when we come home every day. Here is the living room with fresh paint on the walls - you'll have to imagine the board and batten wainscoting below for now!

The pictures will pan around the room counter-clockwise from here.
We still need to paint the window trim white, and the base boards. We'll probably paint the baseboards when we  install the wainscoting.


I took my little helper (Rosie) over there this morning to wander around while I stripped wallpaper in the kitchen - that's what all of that mess is on the floor!
You can see the wall is partially stripped (Carlyle's work) in the kitchen.


Rosie Jackson

29 May 2011

How to clean the shower in FIVE {5} MINUTES or less!

I hate cleaning the shower - possibly more than cleaning the toilet - but I've recently discovered a super easy and fast method that makes it a *joy* rather than a chore.

The good news - you shouldn't have to buy any new chemicals or cleaners, you already have what you need!

First, what are the two main purposes of cleaning the shower?
-Sanitizing / removing mildew/mold
-Removing soap scum / "the ring"

This method will accomplish both of those objectives.

Here's what you need:

-a fine-misting spray bottle (I use an 8-oz one from walmart - you can find them usually in the small sample/travel toiletry aisle)
-bleach (for sanitizing & mildew removal - if you don't have any mildew, then you can use your preferred cleaner)
-laundry soap (it can be cheap, just go for what smells good! I use arm & hammer clean burst - it kind of smells like oranges and is pretty cheap)
-a thin scrubby sponge that's not very thick (I use some that I think are O-celo - they are just the scrubby part, no sponge, so they rinse clean in a second and don't get soapy and full of germs)

The method:

Spray down the walls and tub with diluted bleach water to sanitize and remove any mildew. Leave it for five minutes (ok, not included in the time count, but you can be cleaning the sink or something else while you wait if you can stand the smell of the cleaner).

Using the scrubby sponge, pour on some laundry detergent (you can use liquid or powder) and rub in circular motions around the tub and the tiles until you don't feel the resistance from the soap scum (a couple of seconds). You'll feel the tub get a little more slippery as the soap scum gets dissolved. You won't have to scrub! Just let the laundry soap do the work - and rinse clean. Your shower will be shiny and sparkly and squeaky clean!

Wasn't that so easy? It works 10x faster than any bathroom cleaning solution I've ever used and requires minimal elbow grease. Best of all, you finish with the lovely smelling soap and your bathroom smells clean, not like chemicals! Happy cleaning!

24 May 2011

Operation "House to Home" - stage 1

Sunday C & I went over to the house for the first time as home owners and primed the living room walls. We knew they'd need at least another coat, so today I painted a second coat over all of the living room walls, and a third over the two formerly red walls. That's right, it took three coats of primer to cover the red paint. I easily polished off the 2-gallon bucket of primer on that project, so we'll definitely be buying more to cover the other walls and the ceiling. 


After I finished painting, the air duct cleaner guy came, and then the carpet steamer guy. While they were working on that, I started ripping down wallpaper in the kitchen and discovered that the previous owners wallpapered over old wallpaper! So, it's almost double the work... *sigh*

Here are some photos to document the process, sorry they're so blurry! I'll do better next time.

1st coat of primer

1st coat of primer under the stairs

a blurry spot where some of the paint ran b/c it didn't stick to the semi-gloss

another yucky spot, same problem

just another shot of the kitchen - love the potential for that open shelf! Not sure if I'll put plates or cookbooks there yet....

the most photogenic room of the house - ha!

off the right side of the great room through those French doors is a covered brick patio

just another shot of the kitchen looking through to the living room

the downstairs bath - probably going to paint that oak, and definitely removing the wallpaper, although not any time soon

most of the brass in this house will soon become oil rubbed bronze... just wait :)

the small bedroom that will become my craft room

the view through the future craft room window into the backyard

view up the stairs - that door is the bathroom

after more primer (2nd coat)

first coat on the left, after second coat on the right

painted tile backsplash --- gonna go when we get new countertops! I'm pretty sure there's old wall paper under it, too.

I finally figured out that the fridge should go where those cabinets are on the left - it's way too cramped where it is now. It'll really open up the space, and be more functional. This change also won't happen until it's time for new countertops.

see how it sticks out into that narrow hallway? that's why we're going to move it. When you open the right door, there is about 6 inches of clearance between it and those cabinets you see across from it.

after 3rd coat on the red - much better! the room is so much brighter now!

3rd coat on the red here too

blue bedroom - downstairs - guest bedroom. Planning to knock down that wood on the walls and reuse it for shelving later. 

master bedroom - bed will go on the right

the little [sitting/reading] nook in the master next to the closet

Carlyle's closet - ha! and the master entry to the bathroom on the right, hall in the center

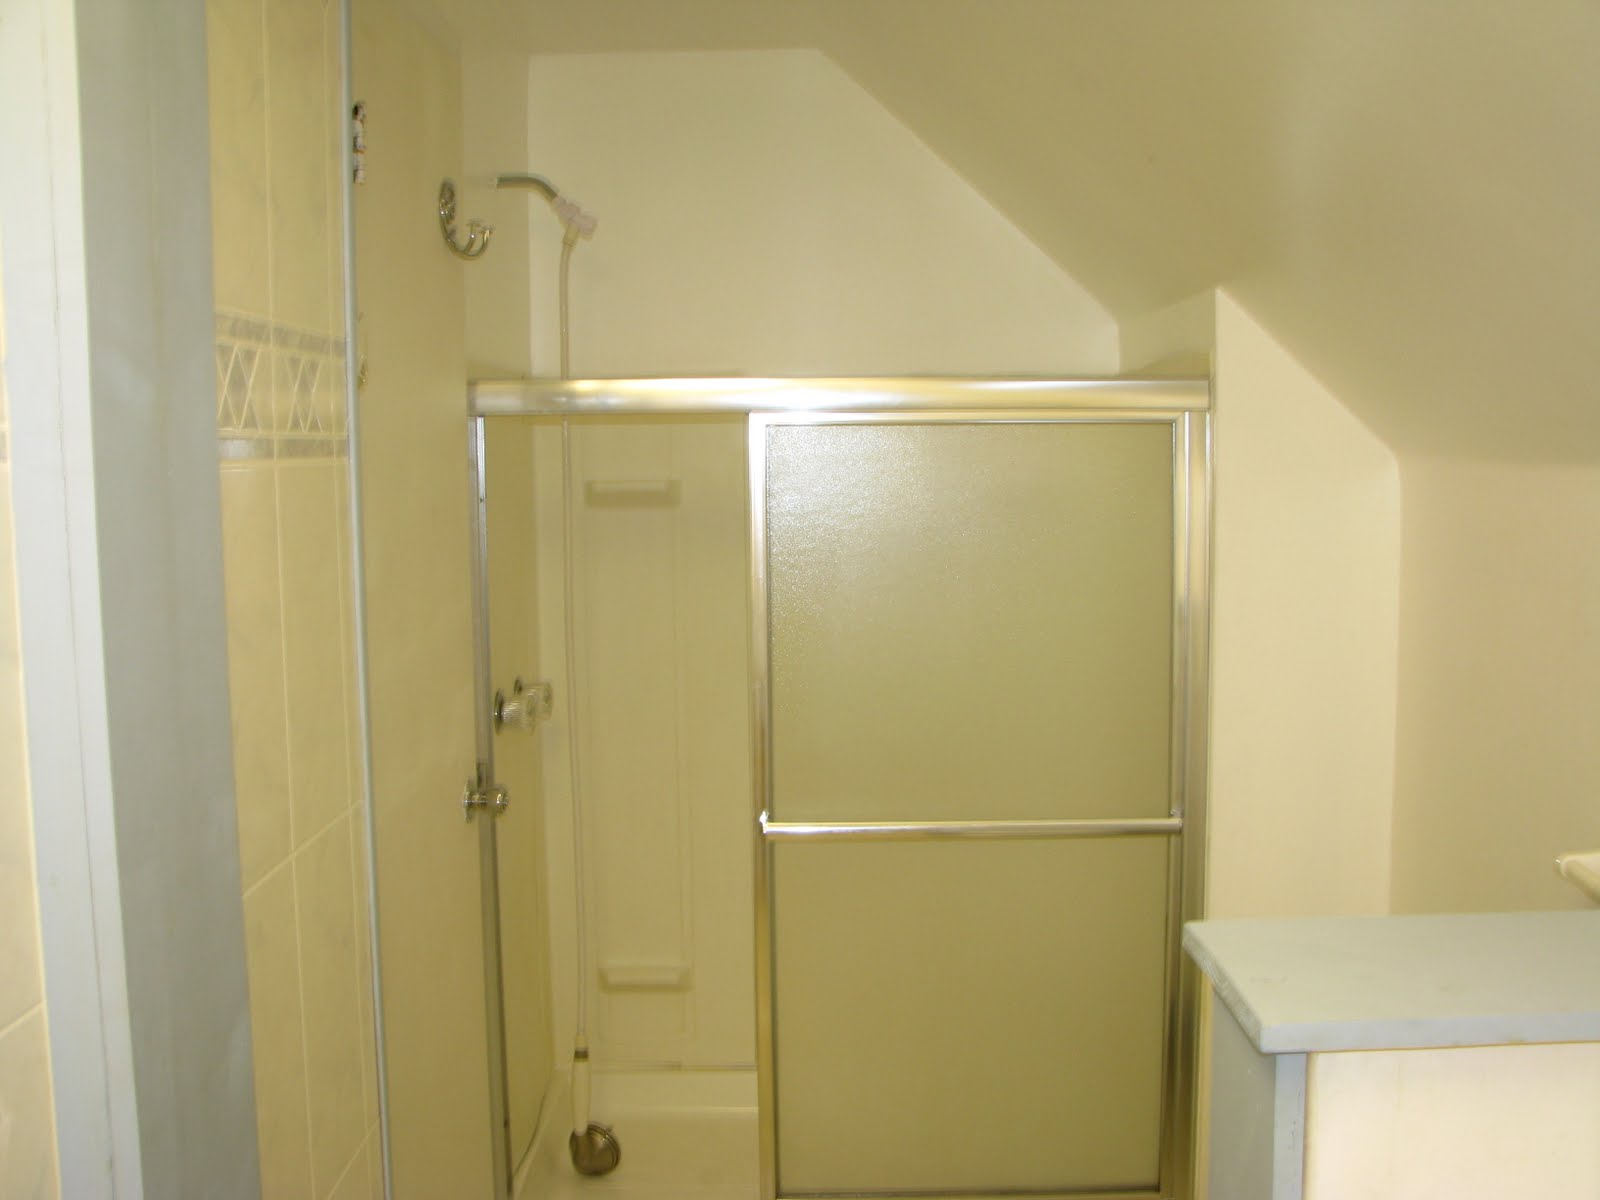
master shower.... with a sliding glass door and transom at about 5 feet... what were they thinking....

not fond of those lights above the sink, and they aren't really necessary.... might try to find some sconces in the future

looking down the stairs

the OLD wallpaper underneath the newer paper. I totally remember this pattern - weren't there dishes to match?? So late 80's / early 90s! 
here's the matching border that went around the soffit
wallpaper ripped off

more progress ripping off the newer paper

if you take a beagle to a house when you're painting....
they're gonna get some paint on 'em.
Luckily, Daisy got more paint on her than I think I did on myself - yay for a neat paint job!
She just brushed up against a wall I think. 


Sorry to jump all around the place, I didn't feel like rearranging all of the pictures.

Here are the plans for the living room:
-paint the trim white
-install white chair rail
-paint between the chair rail and the baseboards white
-paint above the chair rail the color we've purchased - "frosted lemon" - a very very pale yellow
-install picture frame moulding or some other wainscoting detail below chair rail
-rip off the carpet from the stairs, strip, and paint & stain

Hopefully we can install chair rail this summer so things won't look silly when I paint yellow up top and leave the bottom primed white.

That's all for now - probably won't do too much more to the place until the weekend.